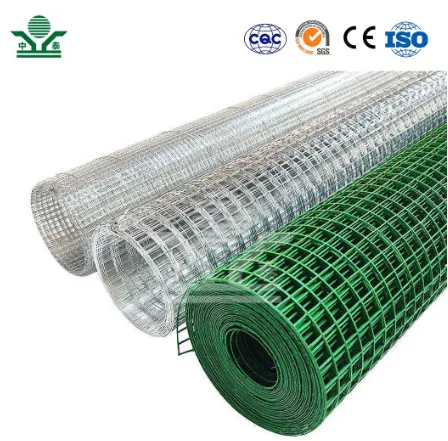
The Process of Putting Up a Chain Link Fence
Installing a chain link fence can be a practical and economical solution for both residential and commercial properties. It provides security, defines boundaries, and allows visibility while still offering protection. This article will outline the steps involved in putting up a chain link fence, along with tips for a successful installation.
Step 1 Planning and Preparation
Before starting the installation process, careful planning is essential. First, determine the purpose of your fence and its location. Will it mark property lines, provide security for pets, or keep children safe? Once the purpose is defined, measure the area where the fence will be installed. Accurate measurements will help you estimate the materials needed.
Next, check local zoning laws and homeowners’ association (HOA) regulations. Many jurisdictions have specific codes regarding fence installation, including height restrictions and setback requirements. Securing the necessary permits is essential to avoid any legal issues later.
Step 2 Gather Materials and Tools
Once the planning phase is complete, it’s time to gather the materials and tools. For a standard chain link fence, you will typically need
- Chain link fabric (the fence material) - Fence posts (preferably galvanized for durability) - Top rails - Tension bands and brackets - Ground sleeves (for setting the posts) - Concrete (for securing the posts) - Fence ties - A gate (if desired)
Tools required for the installation include
- A post hole digger or auger - A level - A measuring tape - A wire cutter - A hammer - A saw (if cutting rail sections) - A wrench set
Step 3 Marking and Digging Post Holes
putting up chain link fence

Once you have gathered your materials, mark the outline of your fence using stakes and string. It’s crucial to mark the locations for your fence posts accurately. The spacing between posts typically ranges from 5 to 10 feet, depending on local regulations and the desired height of the fence.
After marking, use a post hole digger to create holes for the fence posts. For a sturdy fence, the holes should be about one-third of the length of the post. A standard 5- to 6-foot fence will generally require 2 to 3 feet of post buried underground.
Step 4 Setting the Posts
Once the holes are dug, set the fence posts in place. Pour concrete into the holes around the posts for stability, ensuring each post is level before the concrete sets. Allow the concrete to cure according to the manufacturer’s instructions, usually around 24 to 48 hours.
Step 5 Installing the Chain Link Fabric
With the posts in place, the next step is installing the chain link fabric. Attach the tension bands to the terminal posts (the end posts) and slide the top rail through the bands. Unroll the chain link fabric along the fence line and attach it to the posts using fence ties. Make sure the fabric is taut and level to maintain a neat appearance.
Step 6 Finishing Touches
Finally, install any gates, and secure them with hinges and latches. Double-check that all posts are secure and that the fabric is properly tensioned. Additional enhancements, such as coatings for rust prevention, can prolong the life of your chain link fence.
Conclusion
Putting up a chain link fence is a manageable DIY project that can significantly enhance the functionality of your property. With careful planning, the right materials, and a systematic approach, you can create a durable and effective boundary that meets your needs. Not only will this project increase security and privacy, but it will also add value to your property for years to come.
-
Why Galvanized Trench Cover Steel Grating Resists Corrosion
NewsJul.10,2025
-
The Versatility and Strength of Stainless Expanded Metal Mesh
NewsJul.10,2025
-
Load Calculations in Steel Grating Platforms
NewsJul.10,2025
-
Keeping Pets and Kids Safe with Chicken Wire Deck Railing
NewsJul.10,2025
-
Hole Diameter and Pitch for Round Perforated Metal Sheets
NewsJul.10,2025
-
Aluminium Diamond Mesh in Modern Architecture
NewsJul.10,2025
Subscribe now!
Stay up to date with the latest on Fry Steeland industry news.

