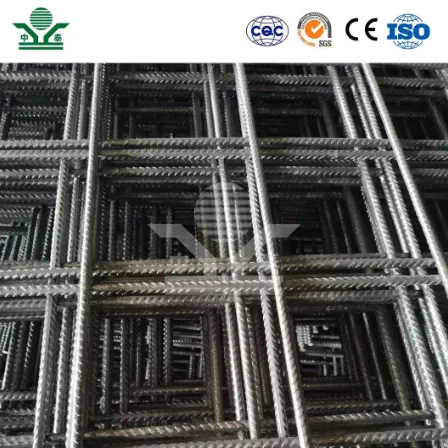
Building a Chain Link Fence A Step-by-Step Guide
When it comes to securing your property or enhancing its aesthetic appeal, a chain link fence is one of the most practical and cost-effective solutions available. Chain link fences are durable, low-maintenance, and provide a clear boundary while allowing for visibility and ventilation. If you’re considering installing a chain link fence, this guide will walk you through the essential steps to help ensure a successful project.
Planning Your Fence
Before diving into the construction phase, proper planning is crucial. Start by determining the purpose of the fence—whether it’s for privacy, security, or simply delineating your property lines. Once you understand the purpose, measure the area where you want to install the fence. It’s essential to know the dimensions to buy the right amount of materials.
Check your local zoning laws and homeowners’ association regulations. Some areas have specific restrictions regarding the height and type of fence permissible. Additionally, make sure to locate any underground utilities to avoid damaging them during installation. A simple call to your local utility company can save you a lot of trouble.
Gathering Materials and Tools
Once you have a clear plan, it’s time to gather the materials and tools you will need. For a basic chain link fence, you will need
- Chain link fabric (the actual fencing material) - Fence posts (typically 2-3 inches in diameter) - Concrete mix (for setting fence posts) - Tension bands and tension wire - Fence ties - Corner and end posts - Gate hardware (if including a gate)
In terms of tools, you will require
- A post hole digger or auger - A level - A measuring tape - A hammer - A saw (for cutting posts) - Safety glasses and gloves
building a chain link fence

Installation Process
1. Mark the Fence Line Using stakes and string, mark the location of your fence line. This visual guide will help you stay on track while digging and installing posts.
2. Digging Holes for the Posts Dig holes for your corners and end posts about 2-3 feet deep, depending on your local frost line. It’s generally recommended to space posts about 6-10 feet apart.
3. Setting the Posts Place the corner and end posts in the holes, ensuring they are vertical using a level. Pour concrete into the holes around the posts and allow it to set according to the manufacturer’s instructions (usually 24-48 hours).
4. Install the Chain Link Fabric Once the posts are securely set, it’s time to install the chain link fabric. Start at one corner, attaching the fabric to the terminal post with tension bands. Unroll the fabric along the fence line and attach it to each line post with fence ties.
5. Tensioning the Fabric After the fabric is attached, tension the chain link by pulling it tight and securing it. The tension wire should be installed at the bottom of the chain link to keep it taut and prevent sagging.
6. Adding Gates If your fence plan includes a gate, install the gate hardware according to the manufacturer’s instructions. Position the gate at an easy access point and ensure it swings freely.
Finishing Touches
After the installation, inspect your work. Make sure all the ties are secure, the posts are standing straight, and the fabric is taut. You may want to add a coat of rust-resistant paint or sealant on the metal parts to prolong the life of your fence.
With clear planning and careful execution, building a chain link fence can be a rewarding DIY project that enhances the security and aesthetic value of your property. Enjoy your new fence, and take pride in your handiwork!
-
Why Galvanized Trench Cover Steel Grating Resists Corrosion
NewsJul.10,2025
-
The Versatility and Strength of Stainless Expanded Metal Mesh
NewsJul.10,2025
-
Load Calculations in Steel Grating Platforms
NewsJul.10,2025
-
Keeping Pets and Kids Safe with Chicken Wire Deck Railing
NewsJul.10,2025
-
Hole Diameter and Pitch for Round Perforated Metal Sheets
NewsJul.10,2025
-
Aluminium Diamond Mesh in Modern Architecture
NewsJul.10,2025
Subscribe now!
Stay up to date with the latest on Fry Steeland industry news.

