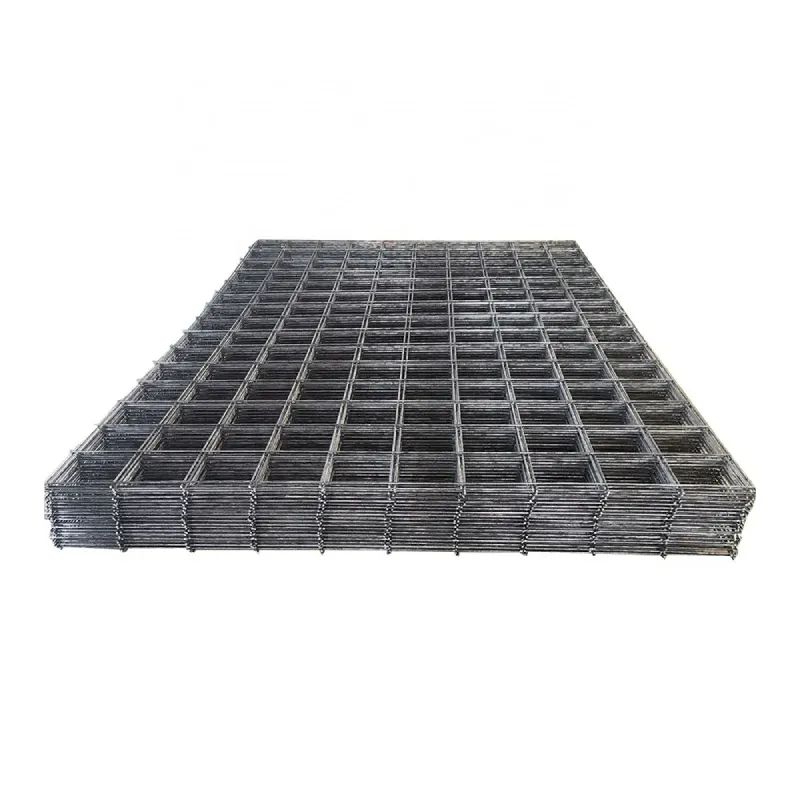
Building a Chain Link Fence A Step-by-Step Guide
Building a chain link fence is an affordable and practical solution for a variety of needs, whether you're looking to secure your property, create a boundary for pets, or enhance your outdoor space. With the right materials and a little bit of know-how, you can successfully install a chain link fence that will stand the test of time. Here’s a comprehensive guide to help you through the process.
Materials Needed
Before you start, gather the necessary materials. You will need
- Chain link fabric (the fencing material itself) - Galvanized steel posts (terminal and line posts) - Post caps for the tops of each post - Concrete mix (for securing the posts) - Tension bands and bolts - Tension wire - Fencing staples or ties - Tools shovel, level, measuring tape, and a post hole digger
Planning and Preparation
1. Measure Your Area Start by measuring the perimeter where you want to install the fence. Ensure that the fence aligns with your property lines and adheres to local regulations.
2. Mark the Post Locations Typically, the posts should be spaced 6 to 10 feet apart, depending on local codes and the specific chain link fabric you are using. Use stakes and string to outline the fence line clearly.
3. Check for Underground Utilities Before digging, contact local utility companies to ensure there are no underground lines in your digging area. This step is crucial for safety.
Installing the Fence
building a chain link fence

1. Dig Post Holes Using a post hole digger, create holes that are about one-third the length of the posts. Generally, holes should be at least 2-3 feet deep for stability.
2. Set the Posts Place the terminal posts at each corner and the line posts in between. Use a level to ensure they are straight. Fill the holes with concrete mix, making sure the posts remain vertical as the concrete sets.
3. Attach the Chain Link Fabric After the concrete has cured (usually 24-48 hours), start attaching the chain link fabric. Use tension bands to secure the fabric to the terminal posts. Ensure that the fabric is taut to maintain a clean and professional look.
4. Secure the Bottom and Top Use fencing staples or ties to attach the fabric securely to the bottom and top of the posts. This prevents sagging and movement, especially during harsh weather.
5. Install Tension Wire If you have pets or want added stability, consider installing a tension wire at the bottom. This adds security and helps keep the chain link fabric tight.
6. Finishing Touches Finally, add post caps to the tops of each post to prevent water accumulation and enhance the appearance of your fence.
Maintenance Tips
Once your chain link fence is installed, it requires minimal maintenance. Regularly check for rust or damage and perform touch-ups as needed. Keeping the surrounding area clear of debris will also help extend the life of your fence.
Conclusion
Building a chain link fence might seem daunting, but with careful planning and patience, it can be a rewarding project. This type of fencing offers durability, visibility, and security, making it a popular choice for homeowners. Whether for a garden, driveway, or pet enclosure, a chain link fence can be a great addition to your property that enhances both its functionality and its appeal.
-
The Strength and Versatility of Aluminum Expanded Metal Mesh
NewsJun.10,2025
-
Safety Guards and Machine Enclosures Using Expanded Mesh
NewsJun.10,2025
-
Performance with Round Hole Perforated Mesh in Wall Panels
NewsJun.10,2025
-
How Steel Grating Trench Covers Distribute Weight Efficiently
NewsJun.10,2025
-
How Deck Mesh Railing Enhances Backyard Aesthetics
NewsJun.10,2025
-
Comparing Bar Thickness and Spacing in Steel Grating
NewsJun.10,2025
Subscribe now!
Stay up to date with the latest on Fry Steeland industry news.

